Tuesday, July 5, 2011

Angled Top, Pleated Panels


Large windows are a challenge but add a sharp angled top and it almost seems like an impossible task!  

We recently received this kind note and photos from one of our recent webinar attendees.  What a beautiful finished drapery on a very large and difficult window.  Thank you Ann for sharing your work with us and for attending our online seminars. You have inspired us! 
Dear Rowley,

Thank you all so much for the very informative webinar you ran last week. (Demystifying Arched Panel Styles) I was in the position of finishing off two such curtains – both over 4 metres/ 12 feet high!
Although I had already figured out the maths for these windows, it was good to gain an insight into the mechanics of other draperies! I had to rely purely on math for mine – my curtain panels were too huge to consider making a template, although I can see how much easier it would be if you have a pattern!
The curtain panels were over 4 metres long and 4 metres wide before pleating, so I had to come up with a whole new method for achieving the result. I used buckram sections for each pleat and relied on a protractor for the 137° angles.  I used 2” Velcro to attach to the back of the curtain heading, which worked really well.
I was very pleased with the result and am looking forward to the opportunity to working on any in the future! I thought you might like to see the photos I took of the work that was fitted yesterday. They were so big, I couldn’t get it all in a photo!
Thank you once again.
Kind Regards,

Monday, June 27, 2011


Joann Wieberdink shared this recent kitchen project of combination cornices and soft shades.  Joann, owner of Couture Creations in Kellyville, OK created these unique window treatments for Denise Designs.  They feature banded accent cornices for panels and relaxed Romans. 

This project was a challenge for Joann, who shared this story with us...

 "I took the sketch of the designs to Vision 2011.  Laurie (Medford) is the one who helped me with the construction of the small center cornice pieces in the long relaxed roman shades.  She told me to use FirmaFlex and to just attach it to the mount board.  

I had no idea how to do those center pieces and had spent most of one sleepless night agonizing over it. When she said, "just screw it into the mount board" it was like a light went off in my head.  IT COULDN'T BE THAT EASY!!!  But it was.  

All the cornice pieces on the long  treatment are FirmFlex.  I love that stuff and so does my husband who cut it for me.  THANKS! LAURIE AND ROWLEY!" 

We think the end results are fabulous!  Thanks Joann for sharing your project with us.


Wednesday, June 22, 2011

Another Grommet Pillow to Share

We are excited to share another pillow using the plastic grommets from Rowley Company.  This design features an inset panel of material outlined with Micro Welt Cord and Antique Copper color Triangle Plastic Grommets.  A handsome and unique design.

Add caption

Friday, June 3, 2011

Everyone Loves this Pillow!

This pillow is one of the most popular new designs created around Rowley Company lately.

Everyone that see's it wants to take it home. Custom details like grommets, belt straps and the fun modern fabric make it clever and unique.

If you are looking for a summer project to share with your children or grandchildren, this pillow is easy to make and requires only basic sewing skills.

Of course, the basic idea could be enhanced with your own talents and skills to include metal grommets, welt cord, ruffles or fringe in the seams.  Imagine this on a rectangular pillow sham or a round accent pillow.  Using materials like leather, fur, velvet and metal grommets would create an entirely different and eclectic look.

Here are the step-by-step details:

Materials and Supplies:
1 18" x 18" pillow such as PJ18
6 Plastic Grommets GPT15 in the color of your choice
1/2 yard fabric for front and back
1/2 yard fabric for straps and to reveal in grommet holes

Cutting and Sewing:
Cut front and back pieces 18" x 18".
Cut 1 contrast piece 18" x 18" and 6 pieces 4" x 7"

Mark grommet holes 3" from top, bottom and side edges on the pillow front.

Cut three grommet holes along one side and then fold the material over to mark the holes for the opposite side.

Add plastic grommets.  These grommets are easy to press together by hand with no special tools required.  For a long-lasting join, add glue around the neck of the grommet before snapping together.

Place the pillow front over the contrast piece. 

Sew together long edges of the strap pieces and press with the seam centered along the back.

Put the straps through the grommets from the front to the back, with the seam down and pin in place.  Sew around the edges to secure the front piece, contrast piece and straps in place.
Place the back piece face down over the face, pin and sew around the edges.  Turn right sides out and press the edges with an iron.

Stuff the pillow insert into the pillow and hand sew closed.  A zipper could also be used.

And to keep this cute pillow company, another grommet pillow with a daisy design.

Thursday, May 26, 2011

Maryland WCAA Shade Workshops

The Maryland Chapter of the Window Coverings Association America (WCAA) held a shade workshop on Tuesday, May 24, 2011.  In this hands-on workshop members constructed Roman shades using the Sure-Shade Lift Band System from Rowley Company.

This was the chapter's second workshop using Rowley shade products.  Kris Ozgar, WCAA-MD Chapter President shared, "in the first workshop we constructed shades using the shroud cord method and in this workshop we used the lift bands.  Everyone enjoyed it so much! It is so much more fun with a group.  We had 10 chapter members attend this workshop that was held in my workroom".

 Members pictured are: Barb Morton,  Paula Snyder, Barb Smith, Jane Klinefelter, and Lydia Cress.  
Photo courtesy of Kris Osgar
The WCAA-MD chapter has 23 members of which 18 are workrooms.  It is an active chapter that meets once a month.  In addition to regularly scheduled business meetings, the group plans extra activities such as hands-on workshop events, field trips, and community service projects.  Thirteen of MD-WCAA member workrooms participated in the Extreme Makeover: Home Edition last summer in Baltimore.

To learn more about the WCAA and to find a chapter in your area, visit www.wcaa.org

Thursday, May 19, 2011

Pillows Make the Outdoors Cozy


Outdoor living has become a popular lifestyle trend.  From seaside decks to city terraces, any outside space works for dining, entertaining or just relaxing.  One of the simplest ways to create instant outdoor living is with pillows.  Custom or ready-made, pillows add an easy touch of comfort and color.  Choose outdoor fabrics and washable inserts; the options are endless! Add pillows on benches, chairs or swings. Small lumbar pillows are the perfect size for cafe' size dining chairs and bolsters look smart on a chaise lounge.

Bright blue bullseye pillows from www.housebeautiful.com
A Turkish summer home features a tented deck with an endless view and endless pillows from www.arthitecturaldigest.com
Rowley Company has the supplies you need to create outdoor pillows including Polyfoam Welt Cord, Outdoor Thread and Nylon or Molded Tooth Zippers.

 Relax and enjoy the great outdoors.

Monday, May 2, 2011

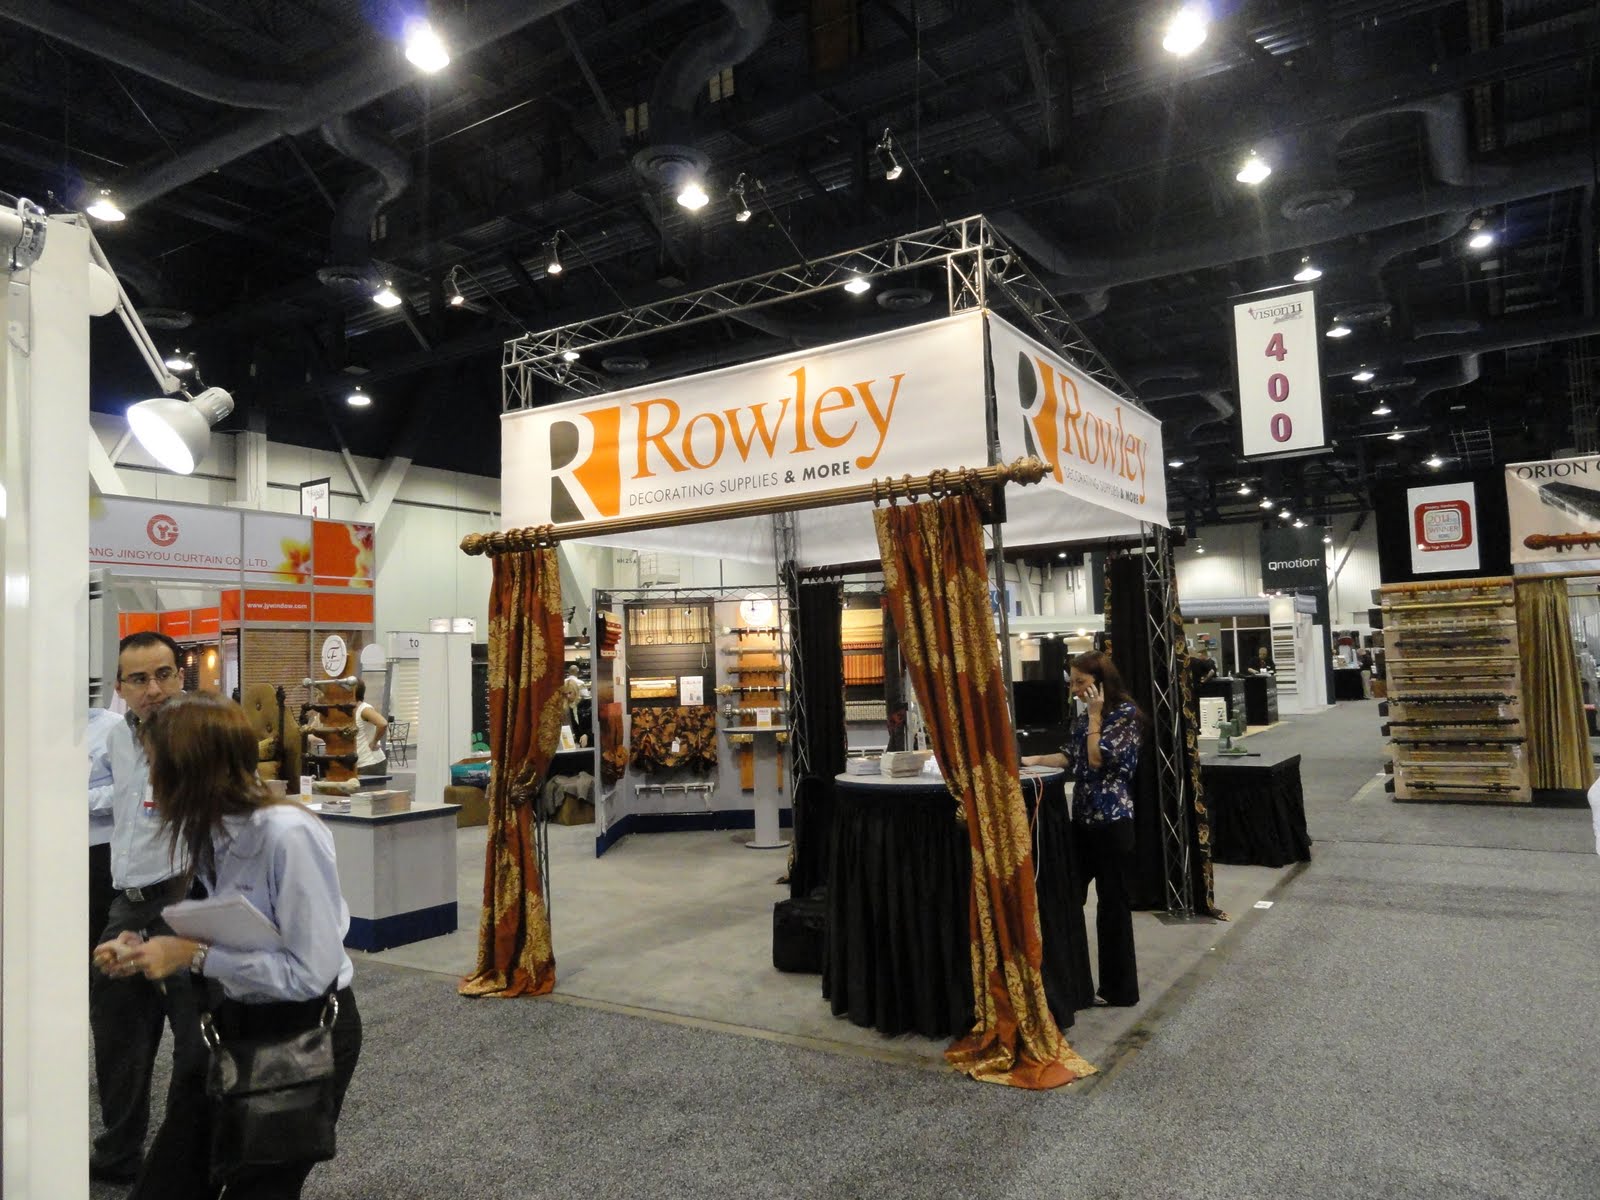
Rowley Company Exhibits at VISION-11 in Las Vegas

Rowley Company exhibited at VISION-11April 24-29 in Las Vegas, Nevada.  This annual event sponsored by Window Fashion VISION magazine features seminars for industry professionals as well as exihibitors and attendees from all over the world.

View from the main aisle as you entered the exhibit hall.

Our booth was consistently busy and we enjoyed meeting customers, friends and associates and sharing our newest products including the stylish and modern Aria metal hardware line from Finestra® Decorative Hardware.

One of the Finestra® Decorative Hardware displays featuring Aria, the new metal collection.

Shade styles and lift systems were a hot topic at this years show and attendees spent time discussing the options available from Rowley Company including the Sure-Shade family of products.  Attendees had great questions and the input shared in invaluable to our continued development of products and services.

Susan Woodcock and Scott Rowley with attendees, answering questions about shade systems.
During the event, Rowley Company's Amy Johnson, Laurie Medford and Susan Woodcock were busy presenting seminars and demonstrations showcasing products and techniques on a wide variety of topics such as decorative hardware, linings, wave draperies, zippers, FirmaFlex, Italian stringing, laminated shades and much more. 

Laurie Medford demonstrates how to assemble traversing track hardware.
Thank you to everyone that visited our booth to see our display, place an order or just to say "hello".  We enjoyed being in the southwest and sharing Rowley Company products and services with you. 

The bedding display feature feather/down and polyester pillow forms plus a custom headboard with decorative hardware and buttons.
The grommet press was a popular display.  This photo was taken before the show floor opened, note how neat and tidy the grommet table is! After the show opened fabrics, grommets and buttons covered the table for attendees to try.