Thursday, July 15, 2010

Patterns Matching Tip


Can you see it? 
It's there. 
Right in front of you in plain sight.

A Perfect Pattern Match


An invisible pattern match is key to creating quality window treatments, bedding and upholstery.  A good pattern match may be visible upon close inspection but a bad pattern match is visible from across the room.  In fact, a bad pattern match or pattern placement can be so distracting it can ruin an otherwise lovely design.

Here are some tips for creating a perfect pattern match...FAST!

Begin by examining the fabric and determining how much needs to be turned under along the selvage edge to create a match with the joining piece.  Press under the edge, down the length of material that you are matching.


On the under side of the fold, add narrow width Iron-On Bonding Tape along the very edge, next to the fold.  Remove the release paper and place the edge over the other piece of fabric lining up the pattern.


Rowley Company Fringe Adhesive can also be used instead of the Iron-On Bonding Tape.  Place small dots of Fringe Adhesive along the fold on the reverse side. 

When using any adhesive product, test first.


Line up the patterns so that they match and press the join with a steam iron to set the adhesive.


After the match has been created take the fabric to the sewing machine and stitch in the crease from the wrong side.  The adhesive prevents the fabric from puckering or stretching as you sew.


Once the seam has been sewn serge off the selvage edge.  The match is finished. Press from the front to flatten the seam.


Tuesday, June 29, 2010

Creating Outdoor Rooms


Decorating outside of the home has become very popular.  Workrooms are making outdoor panels, shades, pillows, cushions and awnings.  Designers have exciting choices in fabrics, trims, hardware, rugs, lighting, furniture, table linens and more, all specifically for outdoor use.


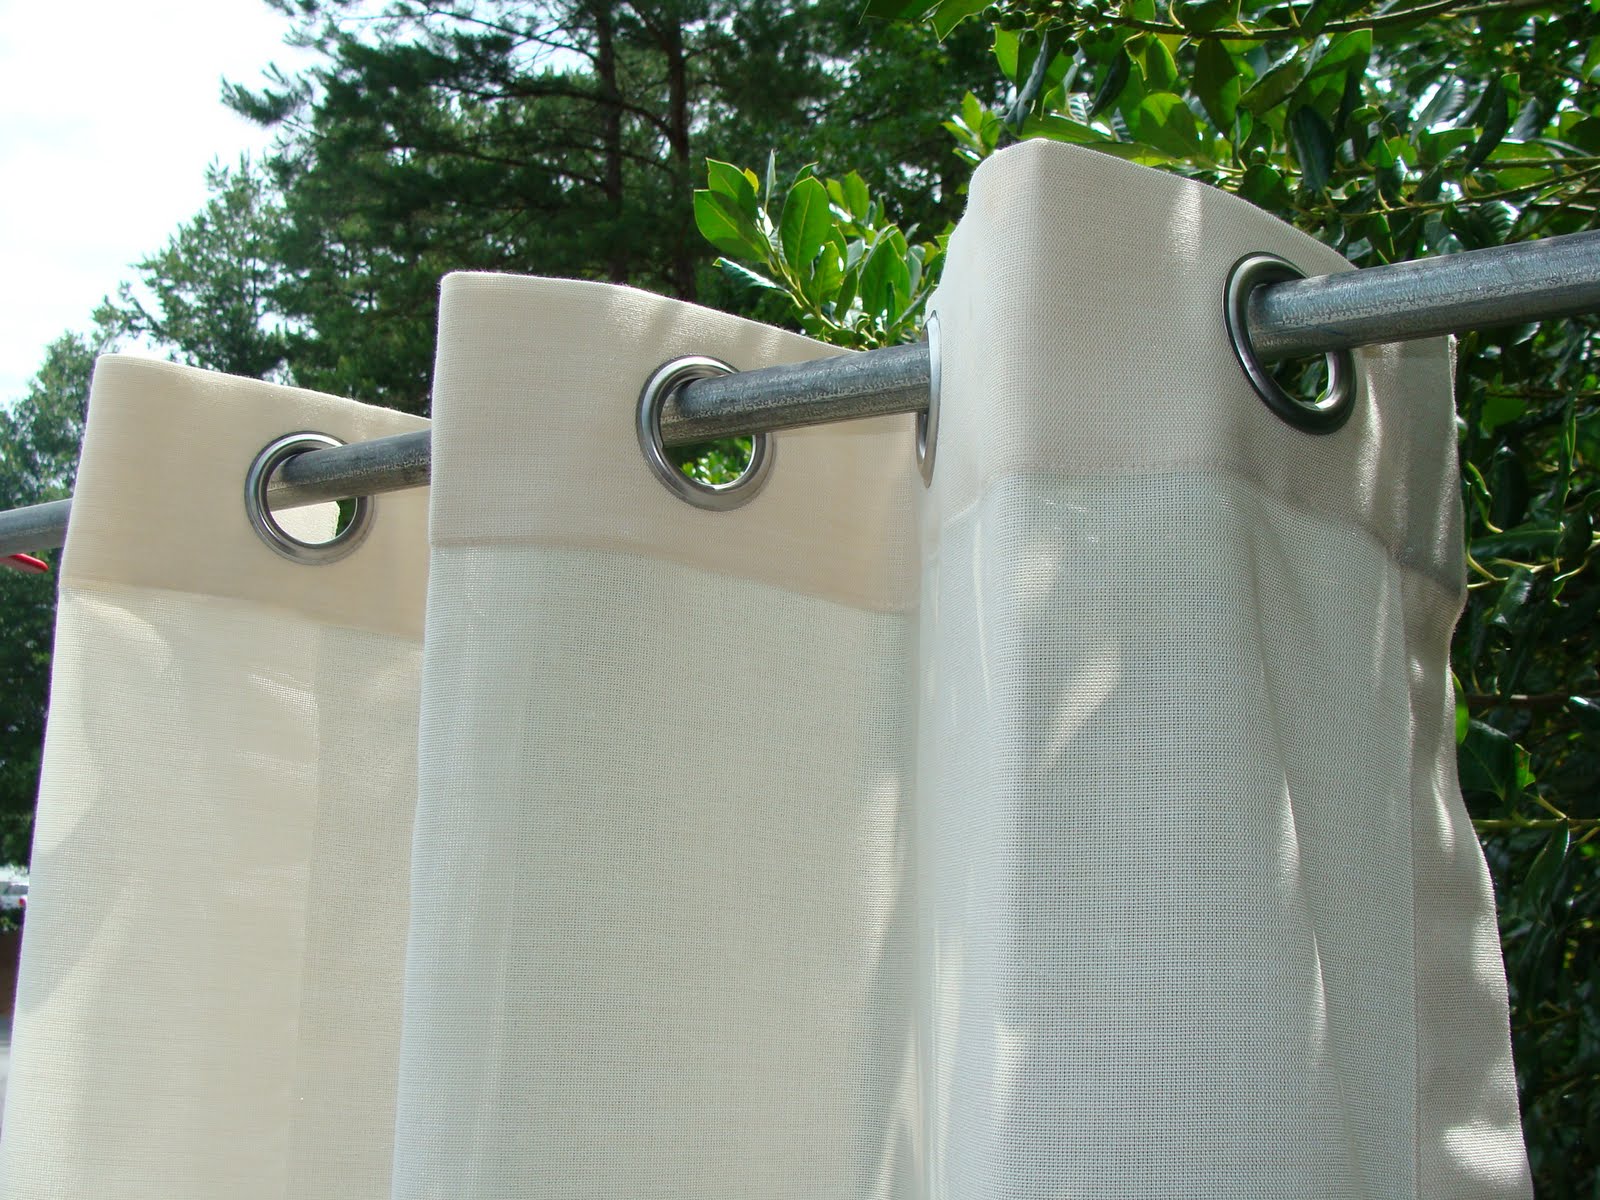
Rowley Company has many products that are perfect for outdoors.  Grommet panels are a great choice for porches and gazebos, they are easy to care for and operate.  Rowley's stainless steel #12 Grommets will not rust or tarnish (GRS12). 

The Hardened Setting Die (GL12/ST) is recommended
when setting the stainless steel grommets.


If you would like to create shades for a screened-in porch or patio area Rowley has Translucent Rib Loop Tape (TT18) and Clear Plastic Ribs (RSR2), Polyester Lift Cord (LC9K) and Outdoor Roller Clutch Components which can be found
on page 183 of our 2010 catalog. 


Creating the perfect outdoor living space is a new and growing trend. 
Now there is the opportunity to be not only an interior decorator but an exterior decorator as well.  Products and tools from Rowley Company will help make your exterior decorating projects a success.


Other Rowley Company products that are perfect for outdoor use include:
Outdoor Upholstery Thread available in 6 colors, TO6K
Molded Tooth Zippers ETP5 and ETP8
Nylon Zippers EVP3 and EVP5
Right Angle Pin Strip HS210 or Hook Strip HS225
FirmaFlex™ Bendable Fiber Board available in many sizes page 139
Stainless Steel Staples NS32/SS, NS33/SS and NS34/SS
Polyfoam Welt Cord WC39/S or WC40/S
UV Stable Hook & Loop Tape, Sew-On HU100 or HU200
Moisture Resistant Fabric (Shower Curtain Fabric) SF30 and SF31
EZ-Glide Shower Curtain Rings (Ant. Copper, Nickel, Matte Nickel) ST18


If you would like to learn how to make outdoor grommet panels and shades, join us for the free webinar "Let's Head Outdoors: Outdoor Roller Shades and Grommet Panels", Wednesday, August 4, 2010 at 11:00 am EST. 

To Register Click Here:

Friday, June 11, 2010

How to Make a Laminated Shade

Laminated Shades offer a simple, clean and cordless solution for your windows.  Begin with a stable face fabric, cotton, cotton blends and linen blends work best.  Fabric shown is from Greenhouse Fabrics, 10807 Heather, 55% Linen/45% Rayon.  Test fabrics with the laminated adhesive before starting your project.  Laminated Shades can be operated by a spring or clutch roller.

Supplies:
Laminating Adhesive
Two, low-nap paint rollers
Room Darkening Window Shade Cloth
Masking Tape
Aluminum Roller Tube
Wood Slat or Weight Bar
Fringe Adhesive
Spring & End Plug or Clutch & End Plug
End Brackets
(Bead Chain Loop if using Clutch)
Scissors or Rotary Cutter and Mat
www.RowleyCompany.com

To begin tape the shade cloth to a smooth, rigid work surface.  Allow extra for width and length.  Draw square, accurate reference lines on the shade cloth to help align the fabric.  Pour out a small amount of laminating adhesive onto the shade cloth and spread it evenly with a paint roller.  Keep adding adhesive as needed to get a good, even coverage.  Continue to roll over the surface until you feel a slight resistance and the adhesive is evenly applied.


Prepare the fabric by cutting square and ironing to remove wrinkles and rolling onto a cardboard tube with wrong side out.  Unroll the fabric starting along one side or end (depending on how it is rolled on the tube) and squaring up with reference lines drawn on the shade cloth.  Inspect carefully and remove any lint or strings from the material.

With the clean roller, roll over fabric evenly in all directions to adhere the fabric to the shade cloth.  Be careful not to push too hard, causing the fabric to become out of square.  Allow the laminated fabric to dry overnight.


Remove shade from the worktable and trim evenly to the size needed.  Allow extra fabric to roll over the tube, this is especially important with spring roller shades.  Seal the cut edges by dabbing or painting on small amounts of Fringe Adhesive.  The Fringe Adhesive will dry clear.  Do not roll up the shade until the Fringe Adhesive is completely dry.  Sew in a pocket at the bottom for the wood shade slat or weight bar.


Peel away the plastic coating to expose the tape on the roller and attach the shade.  Add extra masking tape along the top of the shade securing it to the roller.  Roll up the shade on the roller.  Attach brackets to the window trim or to a mount board following the instructions included for the type of roller you are using.

Spring Roller Brackets

Place the shade in the brackets and adjust the tension if using a Spring Roller or retain the bead chain loop if using a Clutch Roller.  To learn in more detail about making Laminated Shades Rowley Company offers two instructional videos; Part 1: How To Make a Laminated Shade and Part 2: Laminated Shade Finishing Touches  There is also a Laminated Shade Starter Kit which includes everything you will need to create one laminated shade.

Monday, May 24, 2010

London Shade


This is the London Shade created for the International Window Coverings Expo in Atlanta. Contrasting pleats are highlighted with micro welt cord.  The shade was stapled to a board and the EZ-Rig Shade system was mounted under the board for easy operation.


Flower Medallion buttons from Finestra Decorative Hardware add a one-of-a-kind, custom touch.  These beautiful buttons are available from Rowley Company as a stock item in 4 designs and three colorways.


Fabrics shown are all from Greenhouse Fabrics, black floral (99045 Black Swan), solid yellow (99268 Toffee) and woven geometric (98992 Sunrise).

Monday, May 17, 2010

Rowley Company Exhibits at the International Window Coverings Expo

Rowley Company exhibited at the International Window Coverings Expo May 13-15, 2010 in Atlanta, GA. Thank you to everyone that stopped by the booth to see our products, ask questions, place orders and to meet the Rowley Company team. 
A view of from the front.
Scott Rowley and Kris Porter demonstrating how to assemble r-Equal Hardware
John Rowley demonstrating the Rowley Company Grommet/Button Press
Laurie Medford demonstrating how to create an Upholstered Memory Board in the Construction Zone.
Amy Johnson presenting a seminar to attendees in the Construction Zone.
Bedding display with pillows, duvet and an upholstered headboard featuring Finestra Decorative Hardware
Another view of the booth display.
Workroom supplies and new products on display.
Installation and Upholstery Supplies on display.
Susan Schurz demonstrating how to make a cordless roman shade in the Construction Zone.
Some of the pretty samples including a roman shade with grommets, laminated shade and silk panel with Italian Stringing.
Shades of every kind including a reverse mounted, roller lift, decorative heading with upholstery nails, top-down-bottom-up and London shade with micro cord.  Beautiful coordinating fabrics from Greenhouse Fabrics.   A hardware display is featured from Finestra Decorative Hardware
A view from the Constuction Zone

Wednesday, April 28, 2010

How-To: Inset Banding with a Mitered Corner


1. Cut fabric pieces finished banding size x 2.  Press raw edges together on the reverse side.
2. Line up bands square on the worktable, stabbing pins along the banding to hold it in place.  Allow ends to overlap at least 1/2".
3. Turn under edge of the top banding piece forming a mitered corner that is square and true.  
4. Press in a crease at the mitered corner with an iron.
5. Lift up the creased edge and apply a small amount of Rowley Fringe Adhesive or Iron-On Bonding Tape, apply to bottom banding and set adhesive using a hot iron.
6. After adhesive is set unfold banding.
7.  Gently unfold banding so that the right sides of each banding piece are face-to-face.  After banding is unfolded there will be a crease line, this is the stitch line.  It is marked in the photo below.  Sew on this line using a small stitch.
8. After sewing trim away excess fabric leaving a small seam allowance.
9. Turn banding right sides out and press with an iron.
10. Apply the banding to the project by hand sewing, machine sewing or by using Fringe Adhesive or the Iron-On Bonding Tape.